> ## Documentation Index
> Fetch the complete documentation index at: https://docs.odella.ai/llms.txt
> Use this file to discover all available pages before exploring further.
# Blocks
> Master adding, moving, connecting, and editing blocks in Odella workflows
Blocks are the essential elements of Odella workflows. Whether you're building simple sequences or intricate logic, blocks help bring your workflows to life. Here's everything you need to know to add, arrange, and customise them.
## Adding a Block
To add a block, right-click in any empty space on the flow canvas (or press **Space**) to open the **Add Menu**.
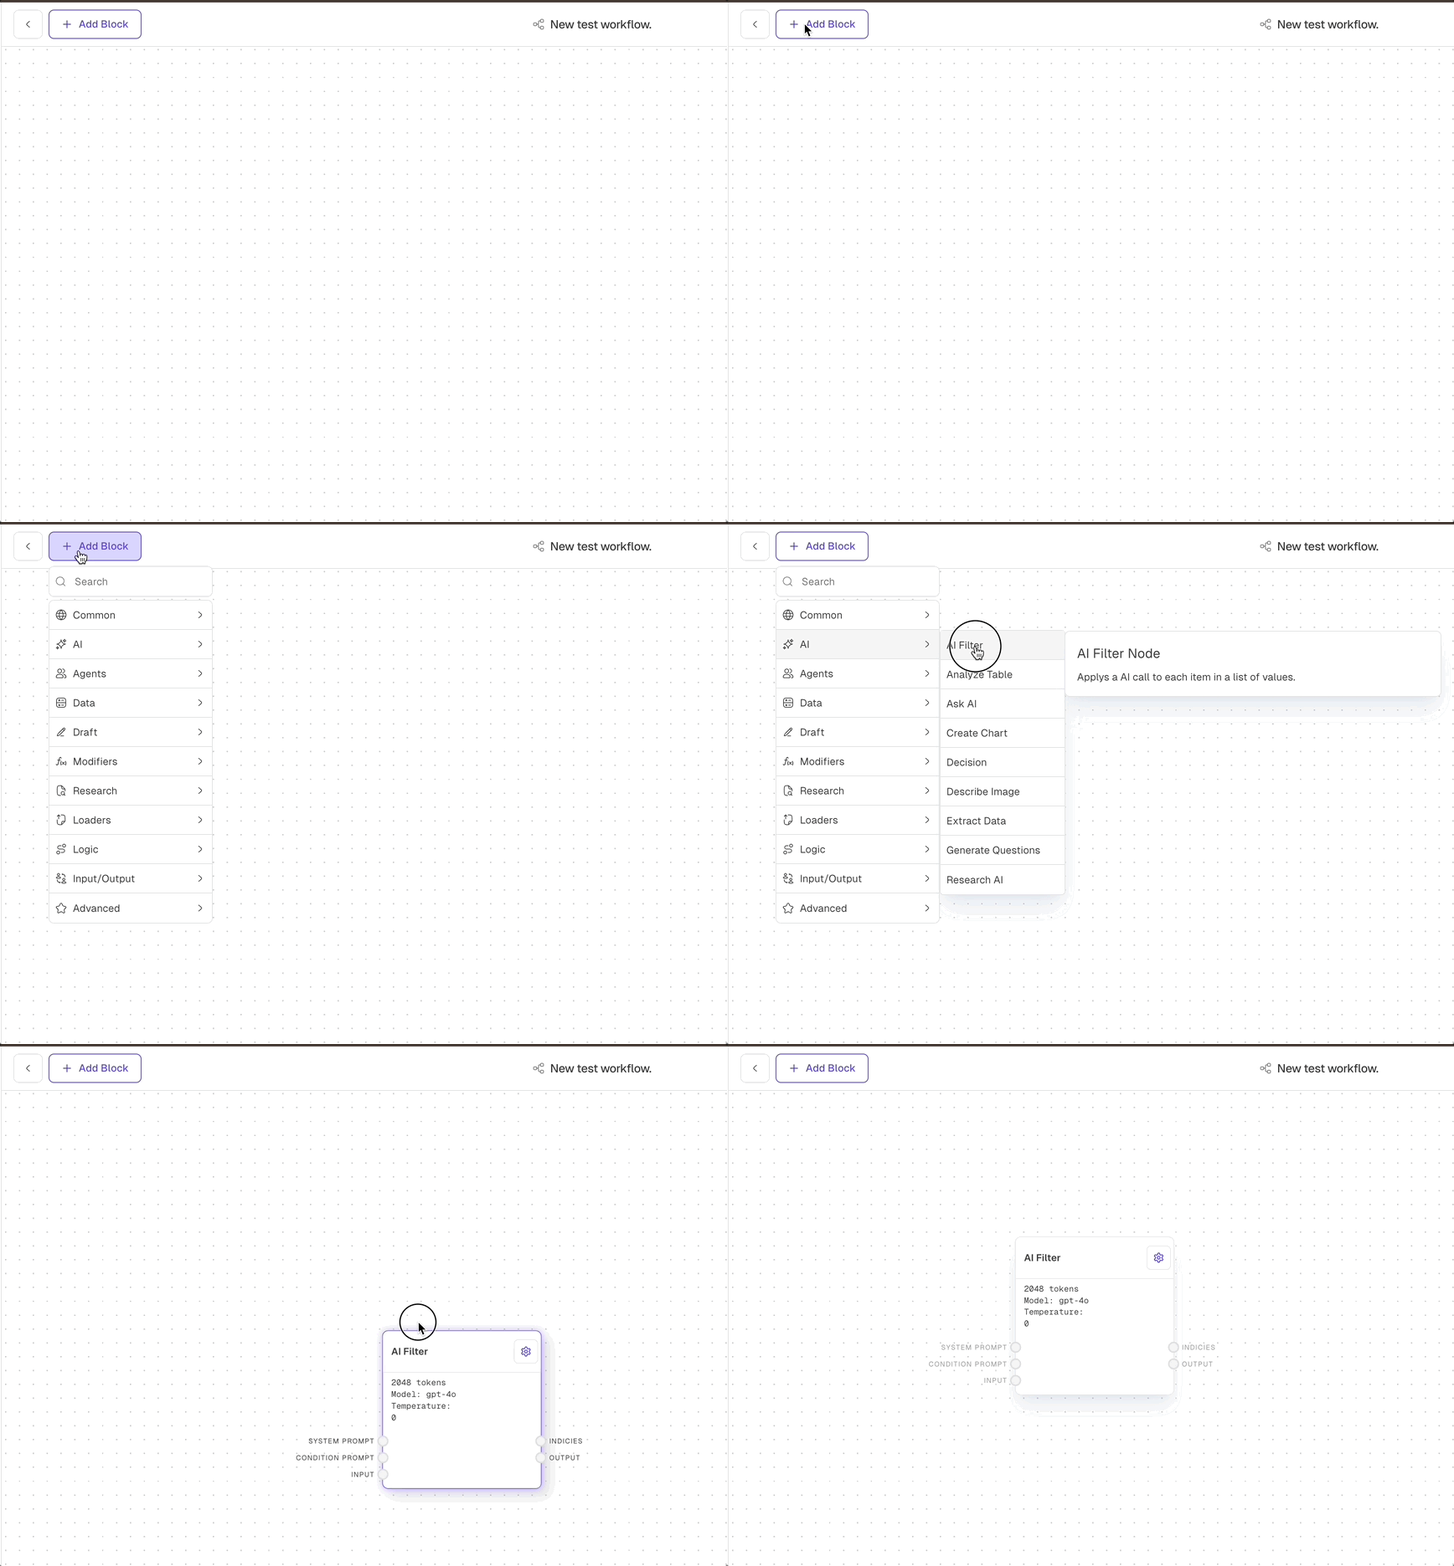
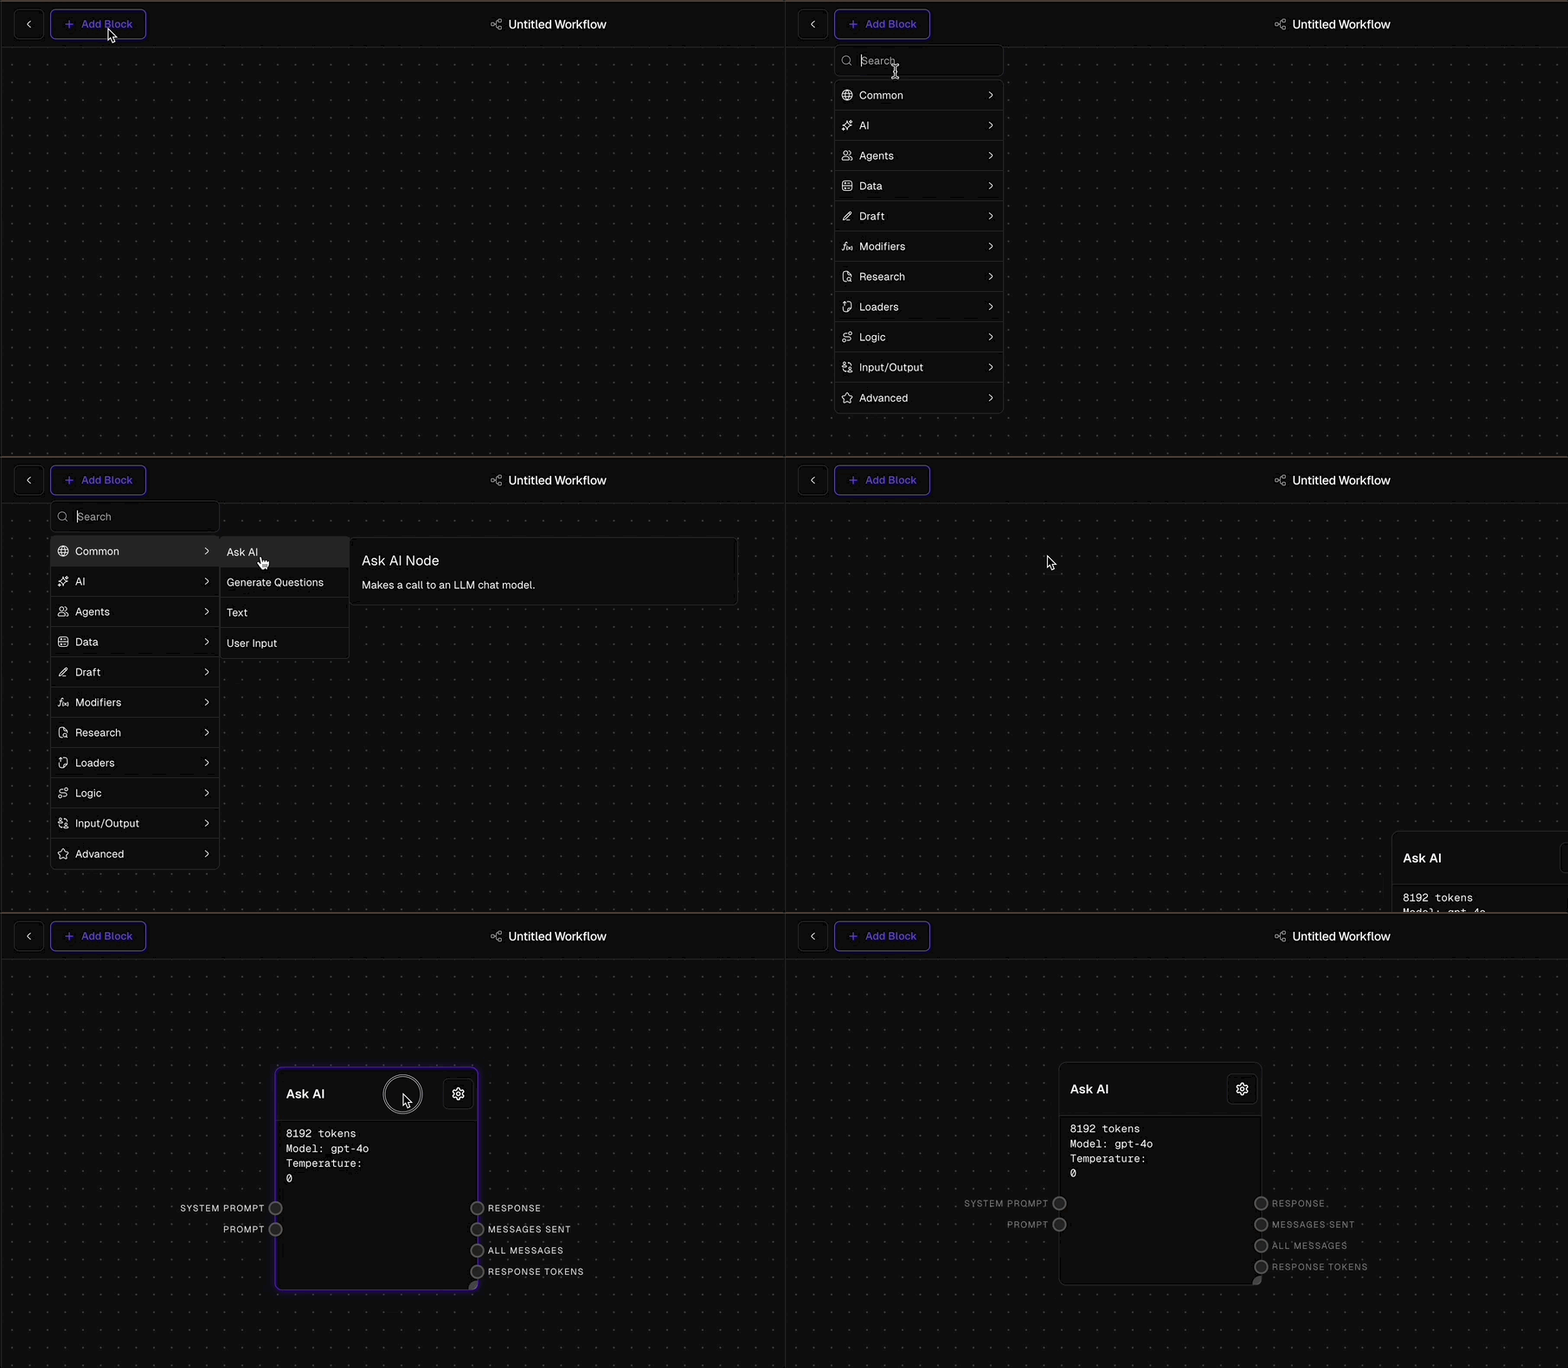 Start typing to quickly find the block you need in the menu.
Blocks are grouped by category for easy browsing. Select a block to place it at the location you right-clicked.
For details on all available blocks, check out the [Block Reference](/block-reference/all-blocks).
## Moving Blocks
Repositioning blocks is quick and easy:
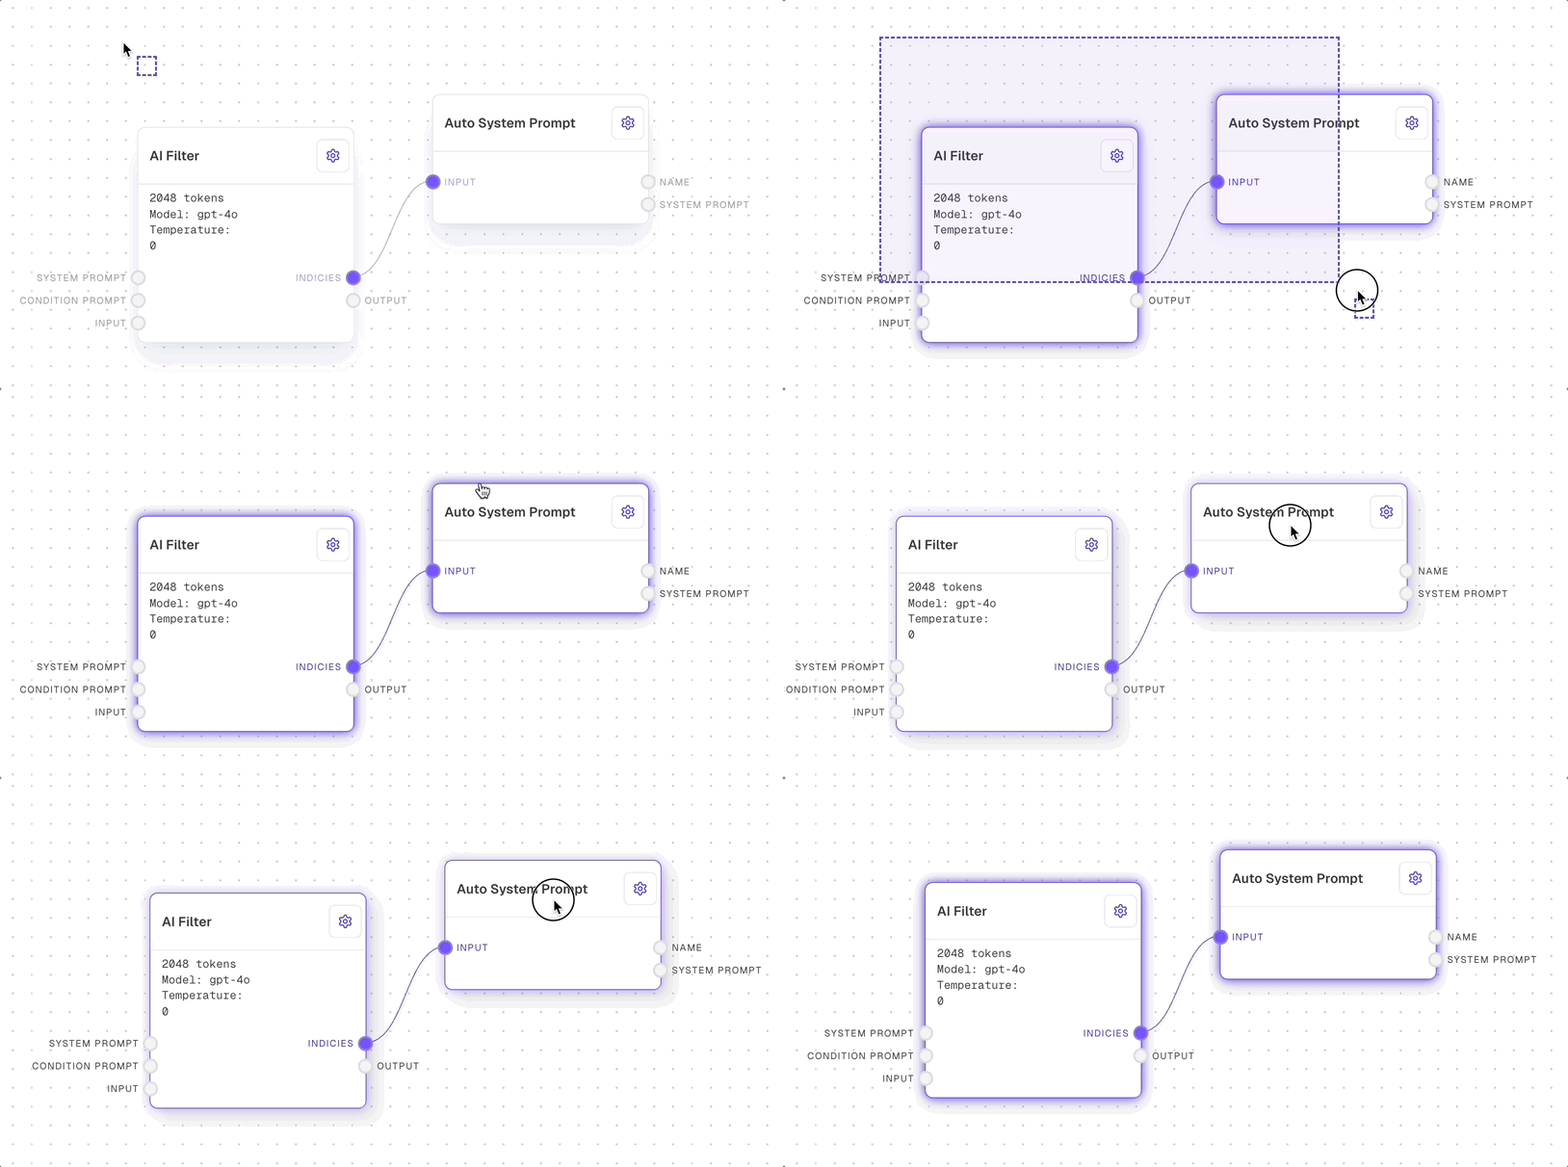
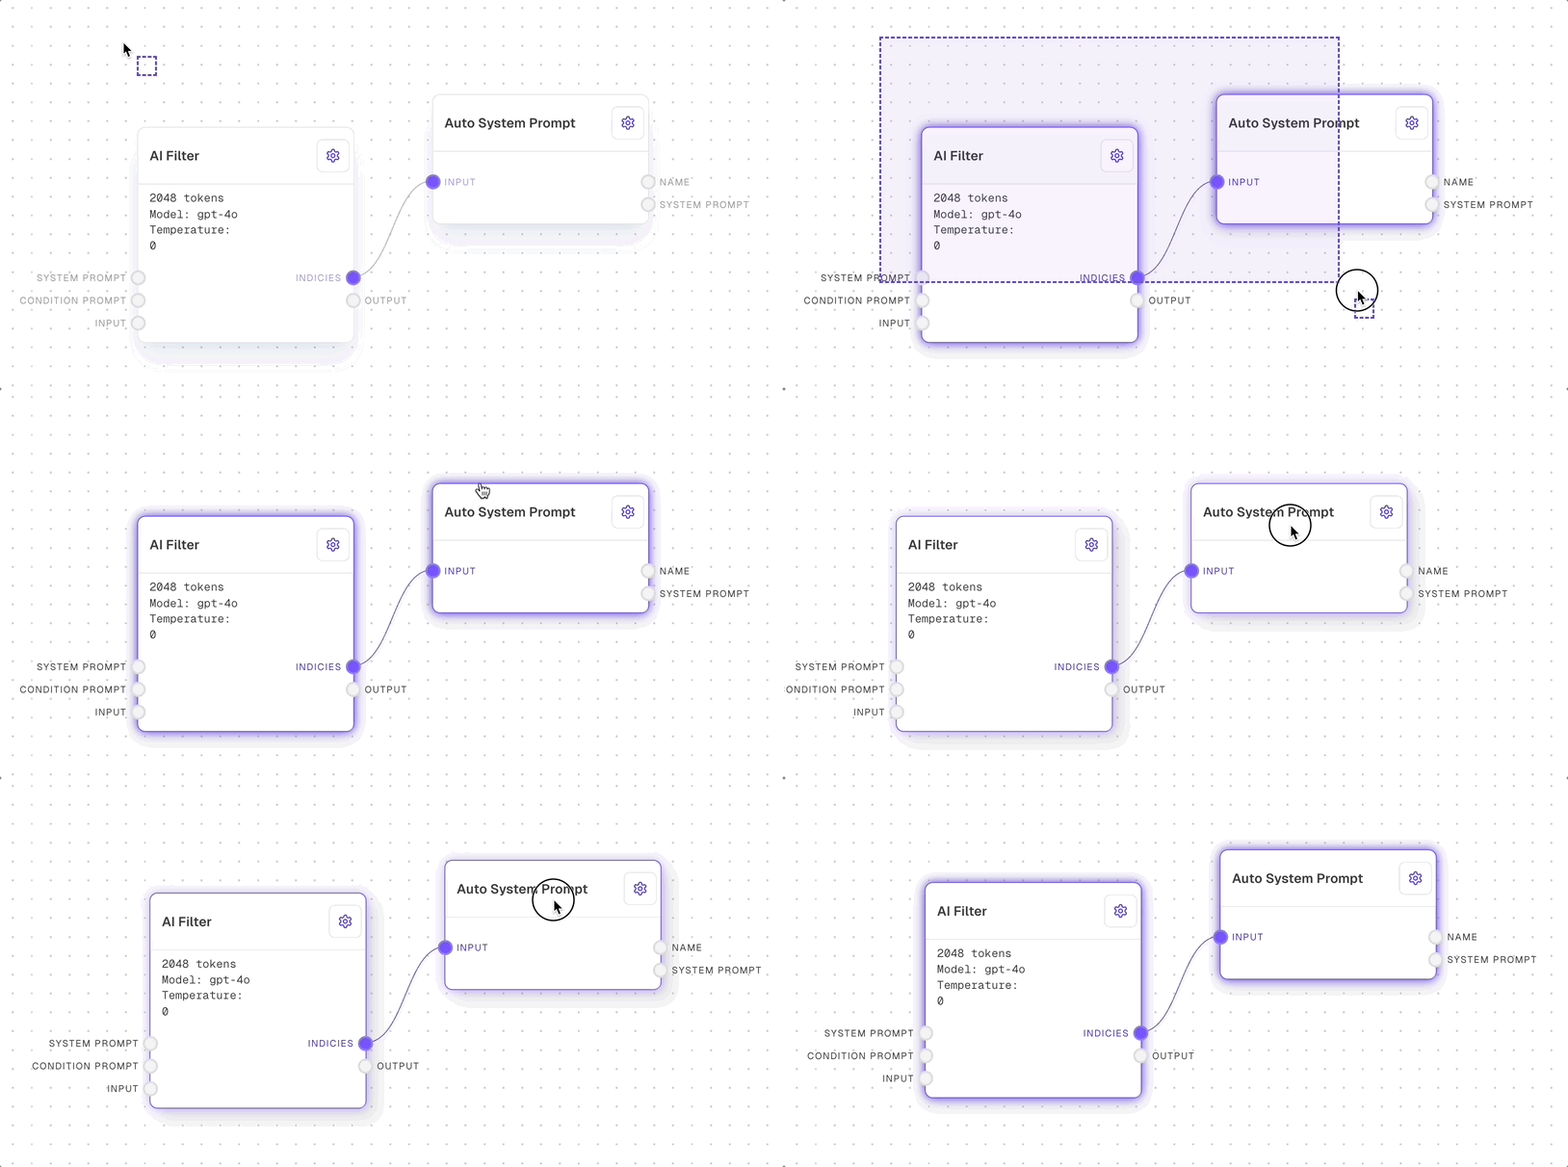
* **Drag & Drop**: Click and hold the title bar of a block, then drag it to your desired position.
* **Multi-Select**: Hold **Shift** and click on multiple blocks to move them as a group.
Start typing to quickly find the block you need in the menu.
Blocks are grouped by category for easy browsing. Select a block to place it at the location you right-clicked.
For details on all available blocks, check out the [Block Reference](/block-reference/all-blocks).
## Moving Blocks
Repositioning blocks is quick and easy:
* **Drag & Drop**: Click and hold the title bar of a block, then drag it to your desired position.
* **Multi-Select**: Hold **Shift** and click on multiple blocks to move them as a group.
 ## Deleting Blocks
Right-click on a block and select **Delete** to remove it from the flow.
## Deleting Blocks
Right-click on a block and select **Delete** to remove it from the flow.
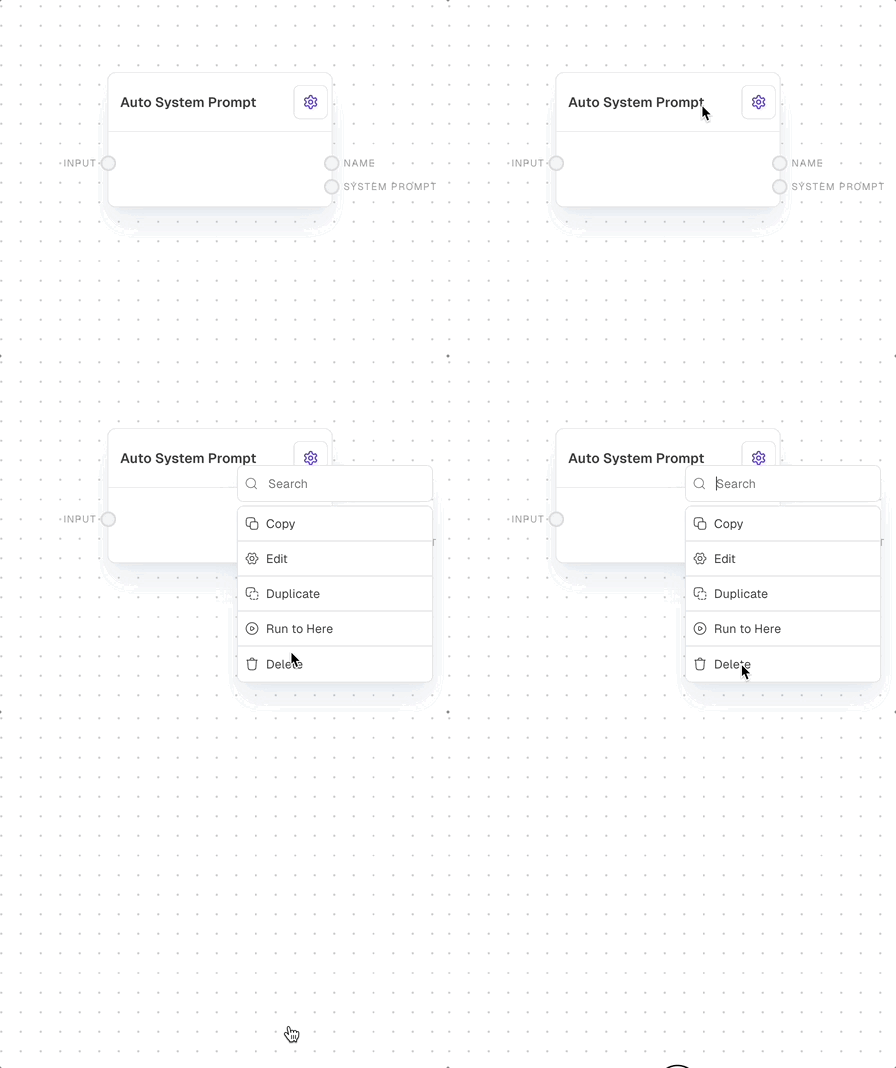
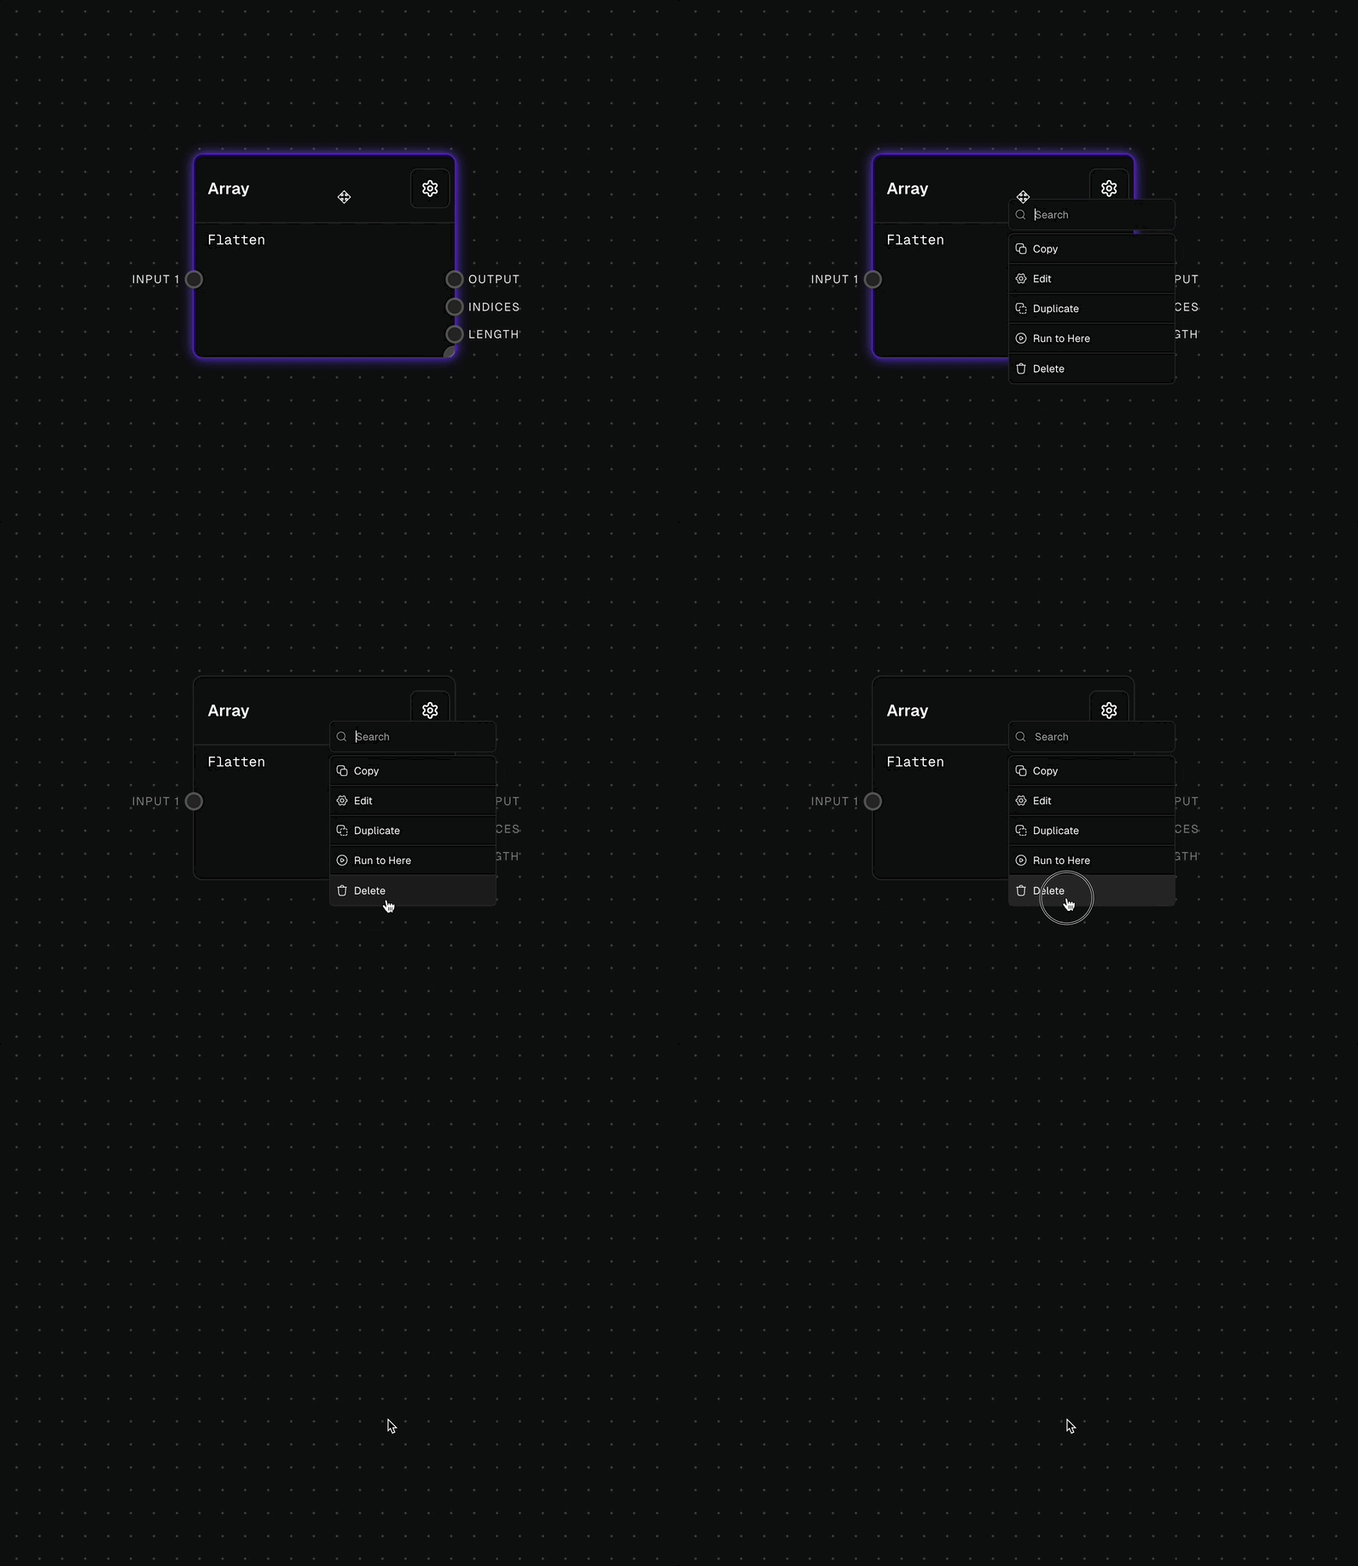 Deleting a block is permanent, and there's no undo option. Double-check before you delete!
## Connecting Blocks
Deleting a block is permanent, and there's no undo option. Double-check before you delete!
## Connecting Blocks
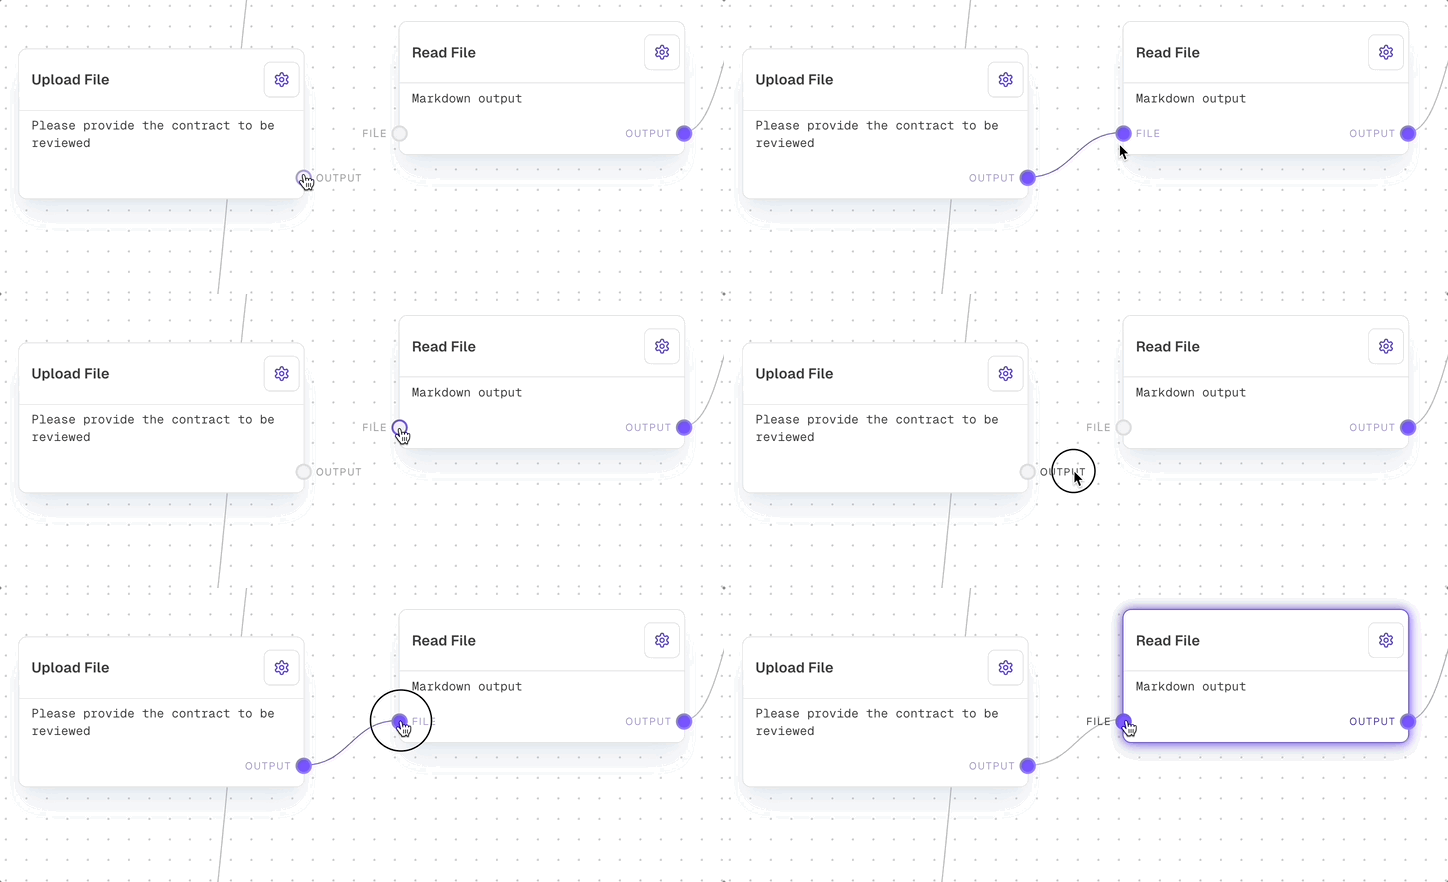
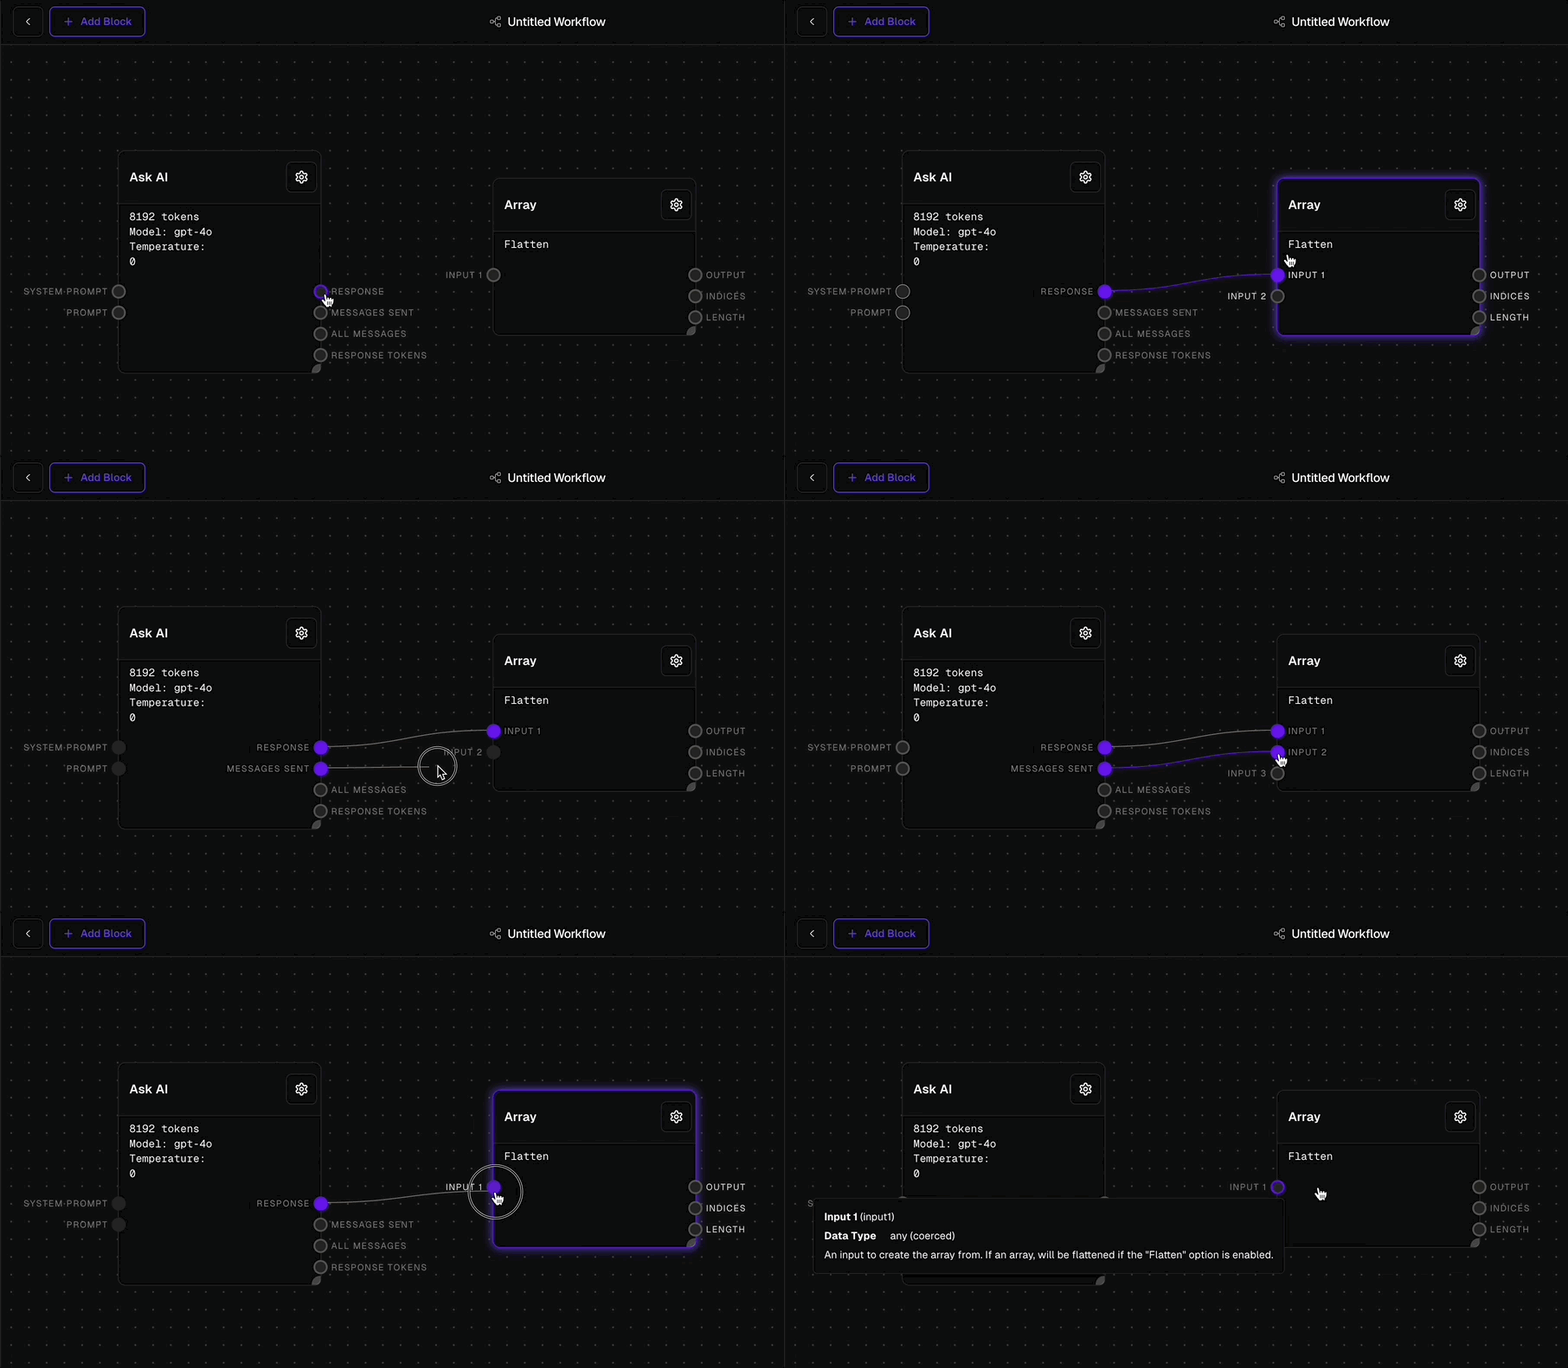 Connections define the data flow between blocks. Here's how to link them:
Click and drag from an output port on one block to an input port on another. Outputs are on the right side, inputs are on the left.
Outputs can connect to multiple inputs, but each input can only connect to one output. Ensure data types match for smooth operation.
For more details on port data types, refer to the [Block Reference](/block-reference/all-blocks).
## Disconnecting Blocks
Need to adjust a connection?
* **Move Connection**: Click and drag on a connected port to change the connection to a different port.
* **Delete Connection**: Drag the connection line to an empty space to remove it.
## Creating a Subflow
Connections define the data flow between blocks. Here's how to link them:
Click and drag from an output port on one block to an input port on another. Outputs are on the right side, inputs are on the left.
Outputs can connect to multiple inputs, but each input can only connect to one output. Ensure data types match for smooth operation.
For more details on port data types, refer to the [Block Reference](/block-reference/all-blocks).
## Disconnecting Blocks
Need to adjust a connection?
* **Move Connection**: Click and drag on a connected port to change the connection to a different port.
* **Delete Connection**: Drag the connection line to an empty space to remove it.
## Creating a Subflow
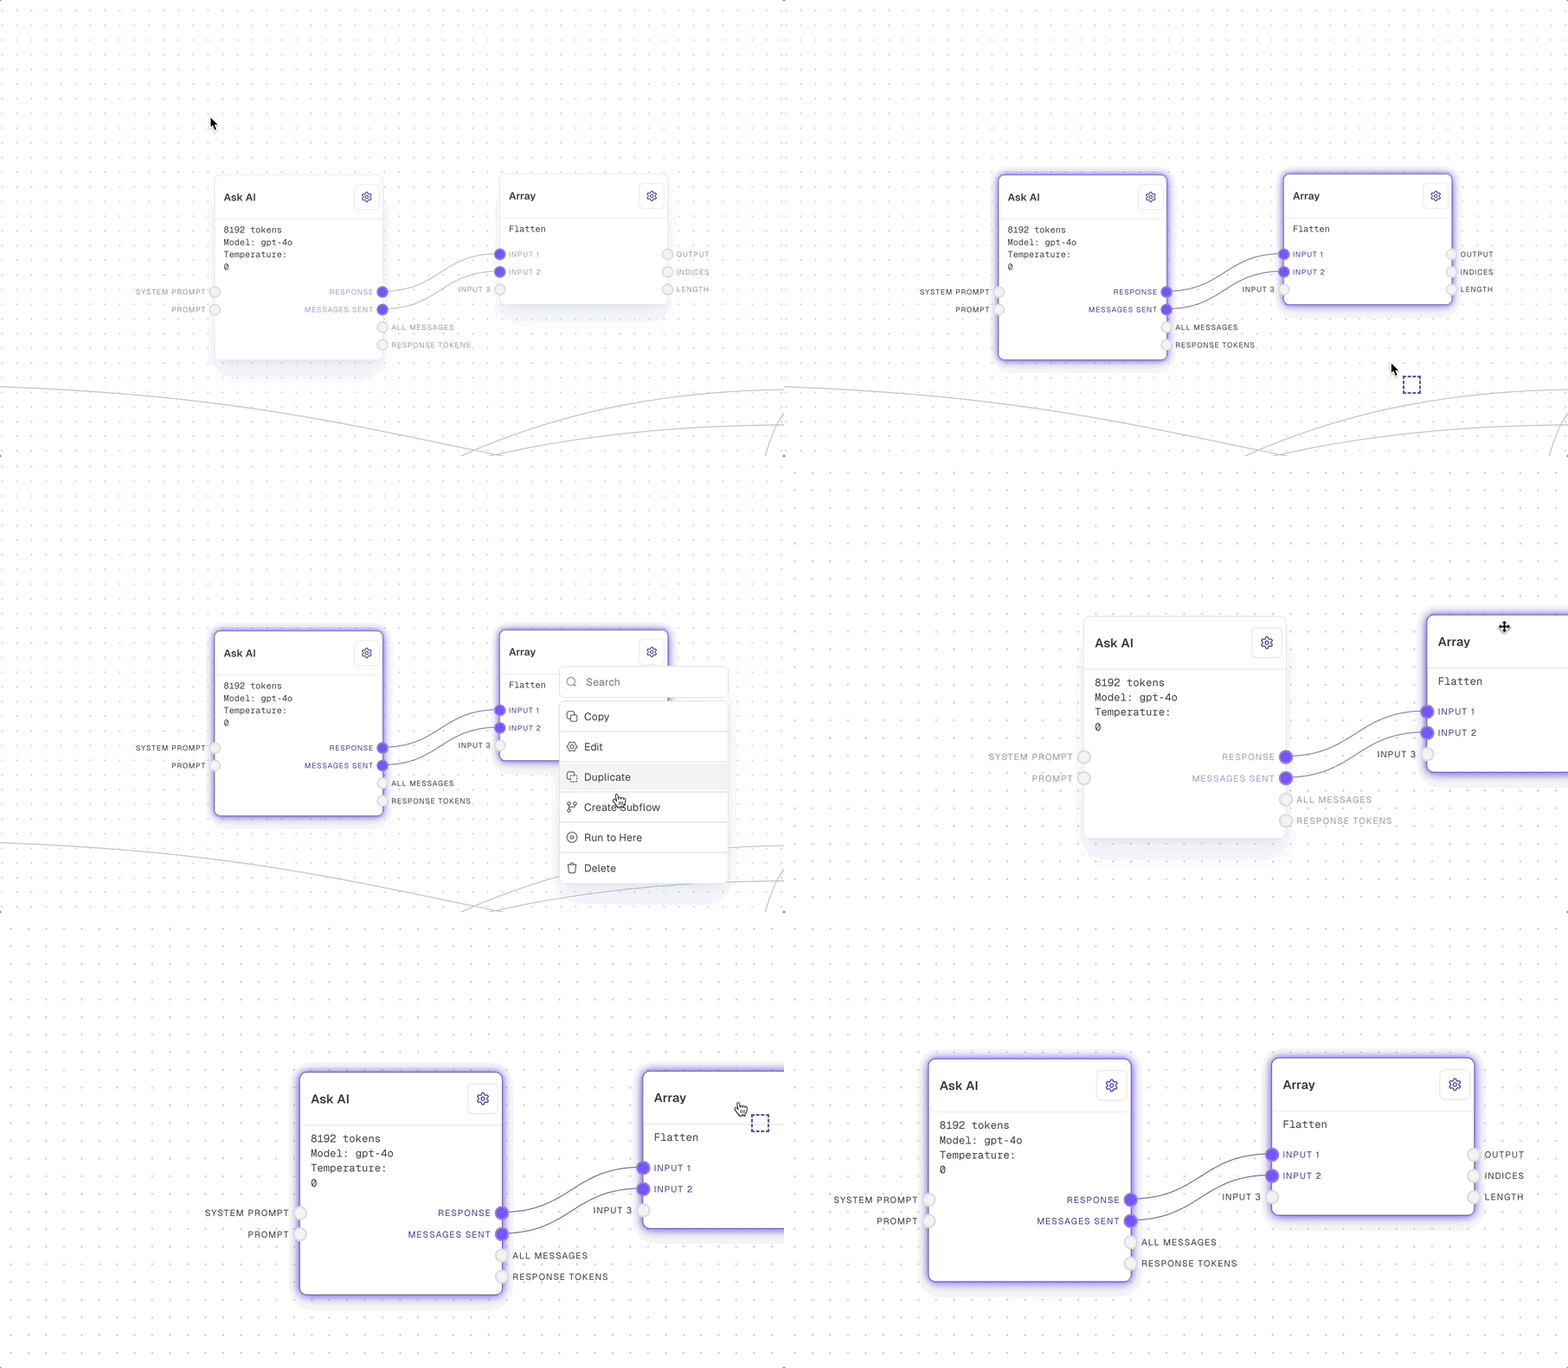
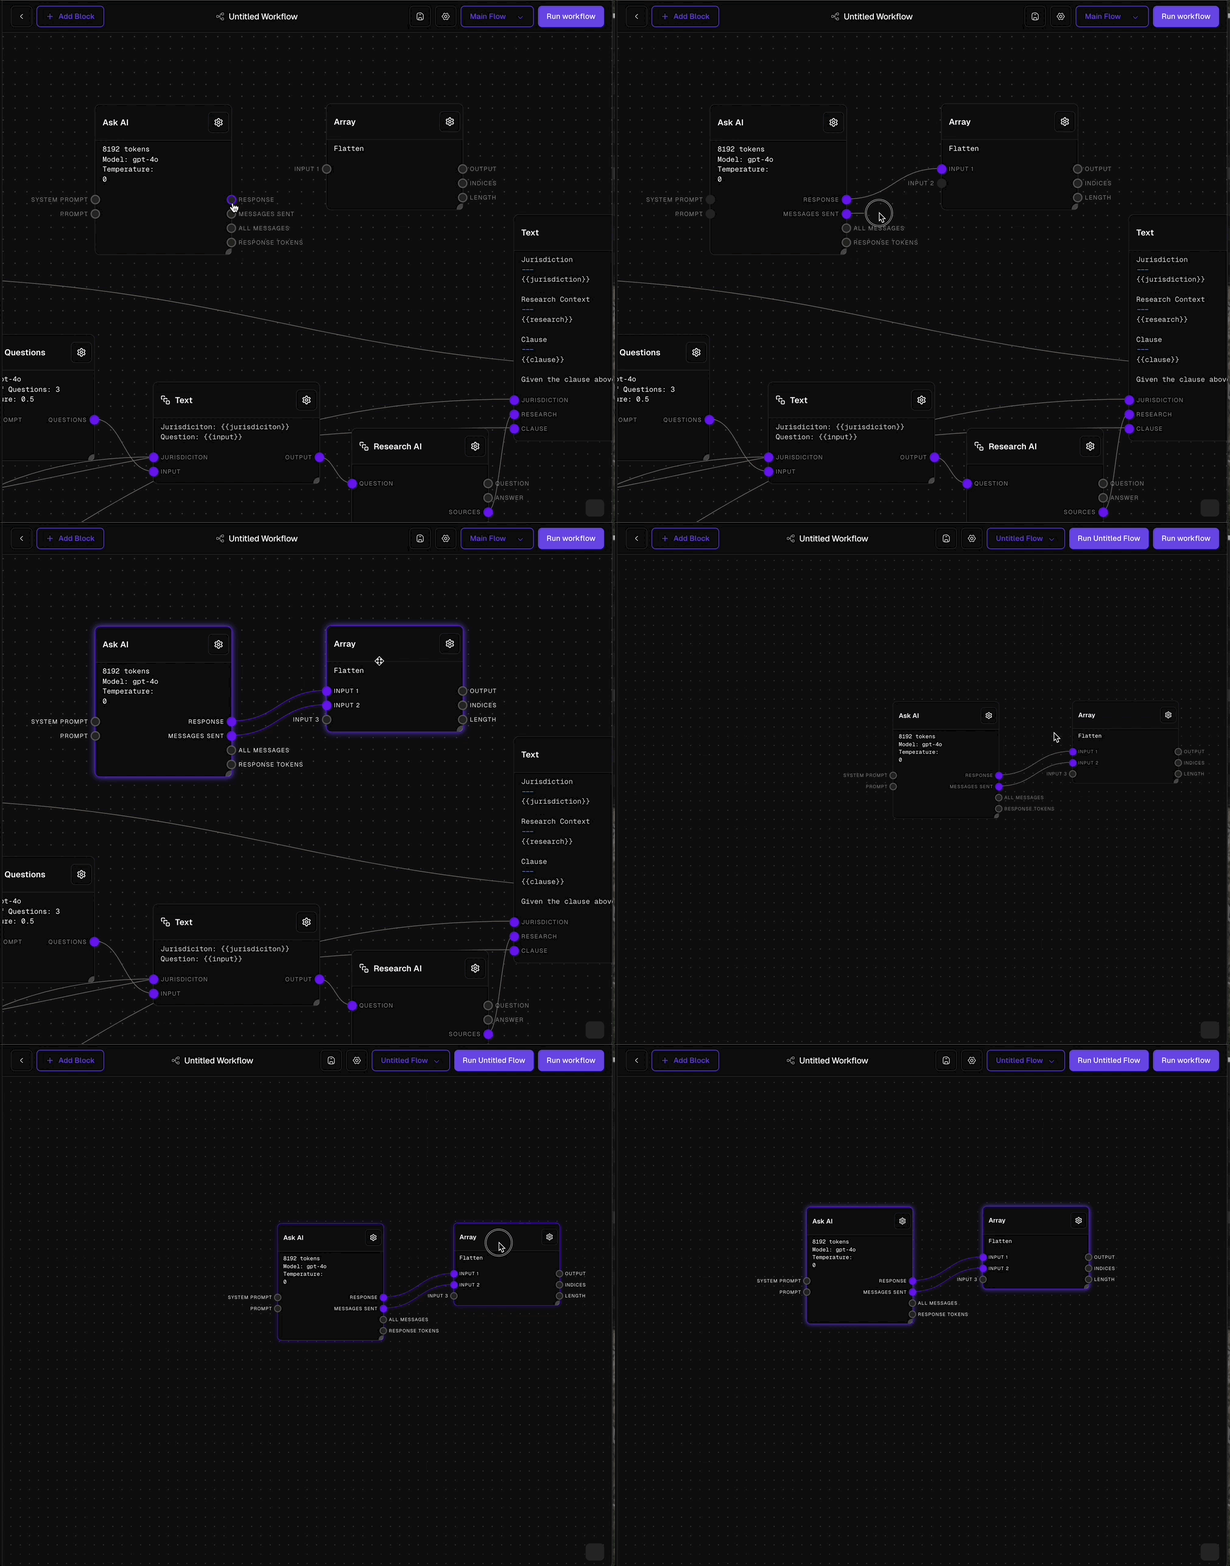 Subflows allow you to group blocks for cleaner, more manageable workflows.
Hold **Shift** and click on each block you want to include in the subflow.
Right-click one of the selected blocks and choose **Create Subflow**. This action moves the selected blocks into a new (*unsaved!*) flow, complete with input and output blocks that link back to the main flow.
Name and describe your subflow in the flow info section to keep it organised. Don't forget to save with **CMD+S** or **CTRL+S**.
The original blocks in the parent flow remain in place, so you'll need to manually replace them with your subflow if desired.
## Editing a Block
Subflows allow you to group blocks for cleaner, more manageable workflows.
Hold **Shift** and click on each block you want to include in the subflow.
Right-click one of the selected blocks and choose **Create Subflow**. This action moves the selected blocks into a new (*unsaved!*) flow, complete with input and output blocks that link back to the main flow.
Name and describe your subflow in the flow info section to keep it organised. Don't forget to save with **CMD+S** or **CTRL+S**.
The original blocks in the parent flow remain in place, so you'll need to manually replace them with your subflow if desired.
## Editing a Block
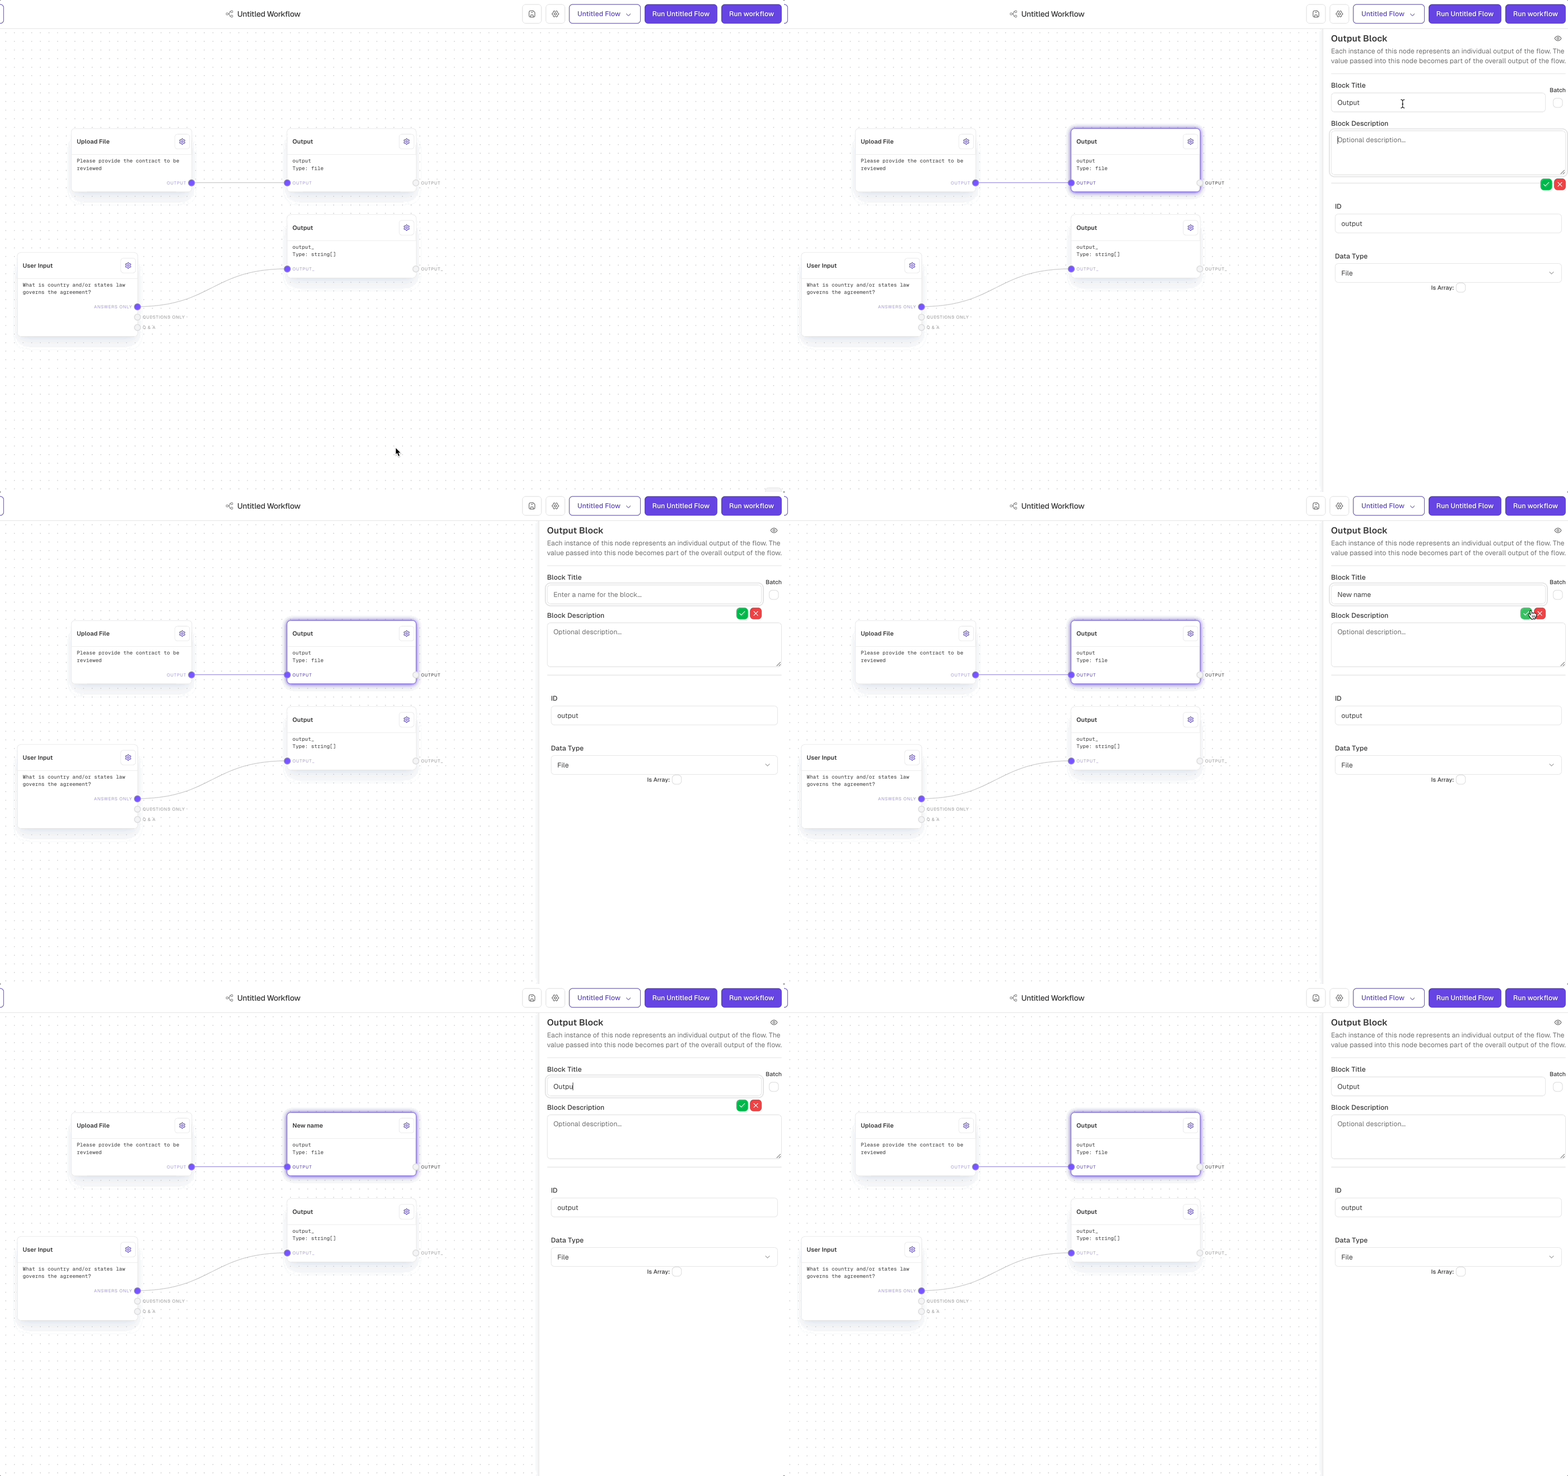
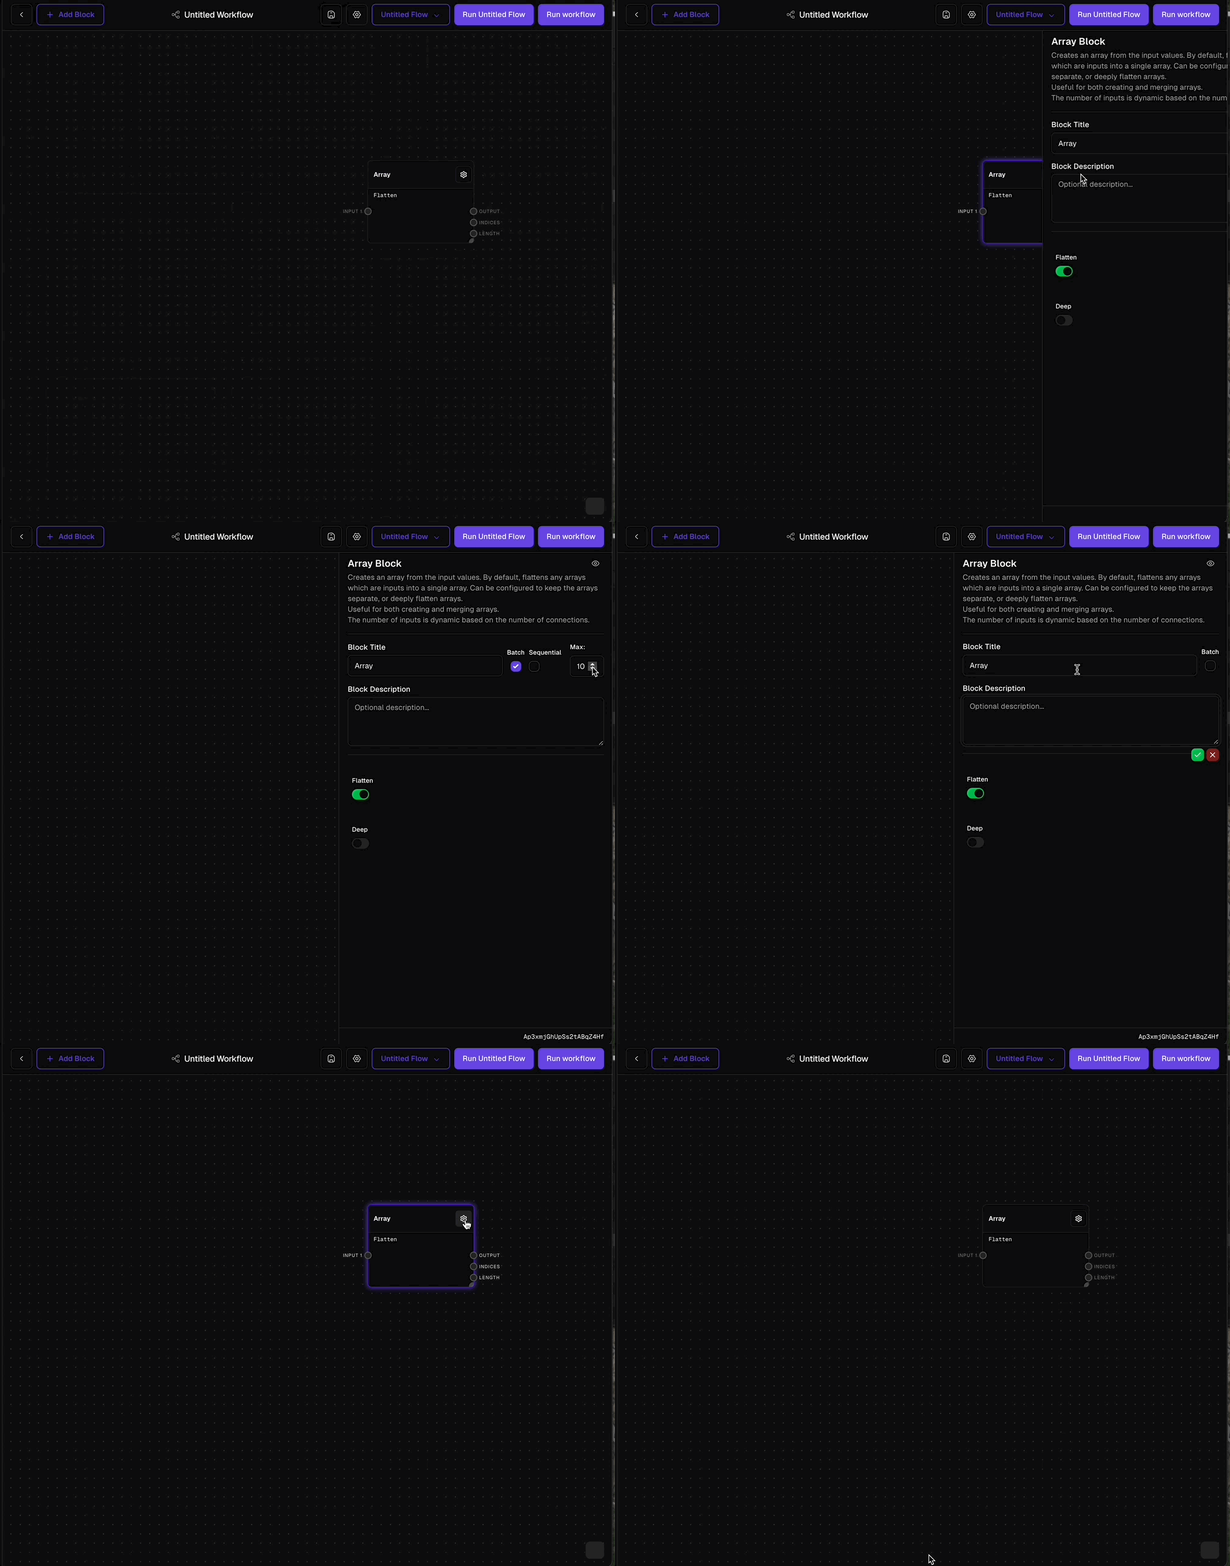 To customise a block, click the gear icon in the top-right corner. This opens the **Block Editor**.
Adjust the block's title and description for clear documentation.
Modify settings specific to the block type, such as batch processing or variant options.
To customise a block, click the gear icon in the top-right corner. This opens the **Block Editor**.
Adjust the block's title and description for clear documentation.
Modify settings specific to the block type, such as batch processing or variant options.